Identify a Location
For your edible parklet, you need to identify where it is going to go and how you want people to use it. Do you want provide seating? Are shelves for container growing important? Can you provide different level planters for adults, children and wheelchair users to access?
Most parklets are 20-feet-by-6 (or 8)-feet and you can combine any of our designs to make the space available to you work best for food growing. Think about growing conditions too and ensure your edible parket location will have some sun and access to water for your plants. Jessica from Gallus Garten in Frankfurt has created a helpful Urban Growing guide for you to reference.
Figure out Permitting Requirements
Whether creating a parklet for public use, you will need to work with city staff to determine a few things:
1. What size parklet can you build
2. What type of permitting do you need
3. What permissions from surrounding properties do you need
4.. What kind of insurance or liability coverage do you need for the parklet? A lot of cities already have parklet programs in place, but if yours does not, you’ll need to work alongside City staff to figure out the permissions.
Choose A Parklet Design
Based on the location, type of parklet, and permitting, you’ll decide which design from our library Wikiblock will work best - we reccomend the Business or the Restaurant design for a food growing parklet as you can add growing containers into the design and/or use the shelving etc. to display containers filled with herbs, salads, seasonal fruit and vegebatables. Our Rodeo Raised Planter is also a great way to create dedicated food growing space in your parklet design and you could line up multiple planters to create a boundary for your parklet and then add seating etc.
Fabricate
Once you have the site, permissions, and design chosen, you will need to begin fabricating. The designs we’ve included have all the cut pieces you’ll need to share with a fabricator. You’ll need to find someone who has a 4x8 CNC router. We generally find fabricators at colleges, makerspaces, and those who design cabinets. The designs will be from our library Wikiblock.
Install/Maintain
Now’s the fun part: building
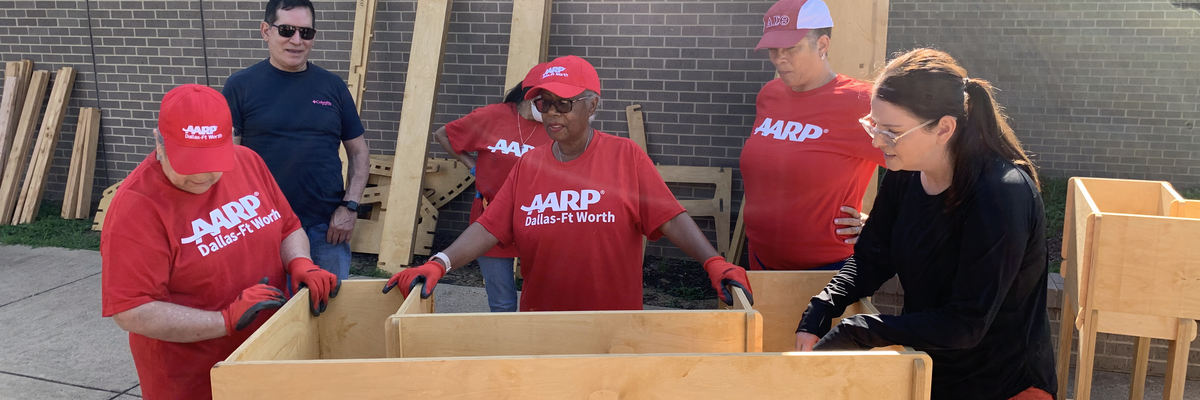
All these designs are created to be built without any glue, screws, or designs. So you’ll just need to gather a few volunteers, and get to work.
Feel free to customize however you’d like—with paint, lights and whatever else you come up with! Don’t forget the maintenance part. You want these parklets to look loved and taken care of so that people passing by will also love them.
Have a plan for regular maintenance.
Keep in mind that these elements are made with plywood, so they won’t last forever. Paint or treat them to get a little more usage out of them.
Once built it's time to create your food garden by adding the soil to theplanters or containers, sowing seeds, planting and securing the plants (with netting or stakes for plants such as tomatoes) and adding signage so that passers by can see what can be achieved in such a small space but witha big impact. Signage to let people know what's growing is a great way of engaging people that visit your parklet and you may want to allow a space for seed swopping etc.
You'll also need a maintenance plan for the food growing in your parklet to ensure the plants are watered, weeded, harvested etc.


 "Hello! We're so excited you're thinking about creating an edible parklet in your community We love parklets, because not only do they challenge us to rethink a space normally reserved to store cars, but they also allow for more space for pedestrians. We've also seen how impactful they can be for small businesses, expanding their footprints past their doors. We look forward to designing with you!"
- Krista Nightengale, Executive Director of the Better Block
