Share with colleagues and students the idea of creating such a space in your school, conduct a brainstorm about the content and functions of the garden. You can use the presentation with explanations about school gardens and examples of concrete solutions for a more lively discussion and to determine the format that you would like to implement.
! Involve children from the very beginning of planning the garden, so that they have space to realize their ideas and in the future feel the garden is "their place" and take care of it with joy.
Determine the key tasks of your future garden (for this you can use the checklist from the guide ) and determine ways to involve different age groups of students
Additionally, an online meeting for teams will be organized, where you will learn more about other examples of school gardens in Ukraine and will be able to share your ideas or ask questions
Inspect the school grounds available for the selected garden format, agree with the management of the institution on the possibility of their use for the specified purposes.
When choosing a territory, consider key criteria:
-
illumination of the territory (minimum 5 hours of direct sunlight)
-
access to open ground
-
proximity to a water source
-
proximity to the main areas of activity on the school grounds
-
distance from sources of pollution (active roads, sites for garbage cans, boiler houses, etc.)
At this step, you will meet online at a workshop with the organization's experts, who will help analyze the territory and available resources, choose the optimal spatial planning solutions and take into account all the limitations and opportunities of the territory
You can also use the questionnaire ( appendix 1 to the manual ) to analyze the territory and create a scheme of the selected location.
Based on the site plan, circle the key areas of the garden (eg entrance area, beds, orchard, technical/inventory area, outdoor classroom area, recreation area) and mark the main paths that will connect them. At this stage, try to create several options and analyze which of them best matches the features of the site and will be convenient to use. Determining the location and size of individual zones and prioritizing the connections between them will be the basis for further placement of objects and tracing of paths and boundaries.
The next step is to detail the defined zones and place individual objects on the diagram to scale. (use the tips and checklists on the pages of the manual )
Consider as an initiative group what you would like to grow and how you plan to use the harvest - for this, use the questionnaire and tips from the manual)
Also, among the resources, you will find materials on the cultivation and care of various vegetable crops , practical recommendations on the arrangement of flower beds and soil analysis, advice on the compatibility of plants
After finalizing the garden plan and choosing the plants for growing, calculate the necessary materials using the estimate template ( appendix 2 of the manual )
Also, at this step, we recommend that you seek individual advice on spatial solutions, individual structures, the choice of materials and planting material from the organization's experts.
Depending on the solutions and elements that you have chosen for your school garden, plan the process of their installation/production with the involvement of specialists and the organization of joint workshops with students (for example, within the framework of labor training lessons, or as a school-wide toloka with the invitation of all interested parties) . Prepare the area and materials for safe work in advance. Prepare the seeds/seedlings/seedlings for the first planting in the newly established school garden.
Working together to create a garden will be not only an interesting adventure for children, but also a valuable team experience of co-creation and personal responsibility for changes in the school.
After a successful start, everything is just beginning. Follow the plant care calendar prepared in the previous stages and adapt it to the changes that occur. Determine the areas of responsibility for each age group of students who take care of the garden (develop watering and care schedules for individual classes or members of the initiative group) so that you can taste the first harvests very soon.
Integrate the garden activities into the learning process and extracurricular activities of the students (you will find useful resources and ideas in the "School garden in the learning process" section of the guide ).
In autumn, with the first harvests, we invite you to share experiences, inspiration, ideas or challenges with colleagues from other schools through a joint online meeting. In a community of schools interested in school gardening, you will be able to quickly find solutions to the challenges that arise and invent new formats for using gardens, learn and be inspired by each other to continue to develop your school gardens.
 Para comunidades Empezar ideas Consigue financiamiento, recursos y apoyo para iniciar proyectos impactantes
 Para innovadores sociales Escala tu idea Conéctate con los agentes de cambio de la comunidad y las finanzas para escalar tu impacto
 Para organizaciones Iniciar un fondo Financia los temas y las regiones que te interesan
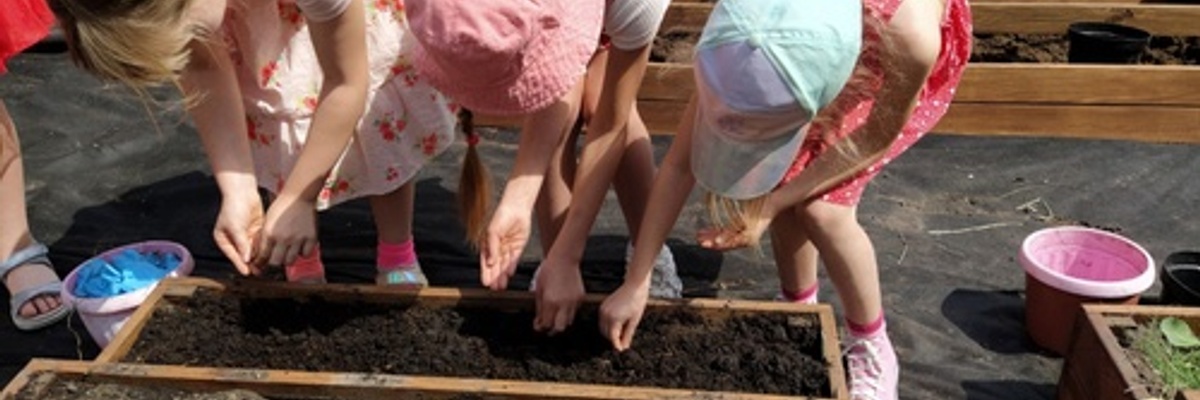


 "We are glad that you liked the idea of creating a school garden! We offer you step-by-step instructions (as well as additional resources for planning and support of our team during the implementation of the project) Let everything succeed! "
- Tetyana Lebukhorska, head of the NGO Bukovyna Regional Development Agency, head of the "Victory Gardens" initiative of the SURGE project
"We are glad that you liked the idea of creating a school garden! We offer you step-by-step instructions (as well as additional resources for planning and support of our team during the implementation of the project) Let everything succeed! "
- Tetyana Lebukhorska, head of the NGO Bukovyna Regional Development Agency, head of the "Victory Gardens" initiative of the SURGE project
